-
[WEB] HTML 기본 문법 정리Web 2022. 7. 16. 14:16
- Visual Studio 확장 설치
Visual Studio 설치 및 환경설정
Visual Studio code 설치 아래 웹 페이지에서 visual stuido code를 여러분의 OS별로 다운로드 한 뒤 ...
blog.naver.com
- node.js 설치
Node.js
Node.js® is a JavaScript runtime built on Chrome's V8 JavaScript engine.
nodejs.org

16.16.0 LTS 설치 - 설치확인

- HTML (웹 뼈대)
- 이미 HTML은 자주 사용해봤고 프로젝트까지 진행해본 상태라, 복습할겸 가볍게 정리하는 방식으로 아카이빙을 진행할 생각이다. (css할때, flex관련해서 집중적으로 공부해볼예정)
<!DOCTYPE html>
<html lang="en">
<head>
    <meta charset="UTF-8">
    <meta http-equiv="X-UA-Compatible" content="IE=edge">
    <meta name="viewport" content="width=device-width, initial-scale=1.0">
    <title>Document</title>
</head>
<body>
    안녕하세요.
</body>
</html>
cf) vscode 주석 단축키
[VScode] 주석 단축키(ctrl + / ) 가 안될 때 - VSCode | UsingU
Scode를 사용하다 보면 가끔 주석 단축키 ctrl + / 가 안될 때가 있습니다. ctrl + shift 를 누른 후 shift 만 뗍니다. 아래와 같이 한국어 입력기 표시 창이 [ 한국어 Microsoft 입려기 ] 를 선택합니다.
usingu.co.kr
- 서식태그 : 제목, 문단, 목록
<!DOCTYPE html>
<html lang="en">
<head>
    <meta charset="UTF-8">
    <meta http-equiv="X-UA-Compatible" content="IE=edge">
    <meta name="viewport" content="width=device-width, initial-scale=1.0">
    <title>서식관련 태그 - 제목, 문단, 목록</title>
</head>
<body>
    <!-- 제목 -->
    <h1>제목1</h1>
    <h2>제목2</h2>
    <h3>제목3</h3>
    <h4>제목4</h4>
    <h5>제목5</h5>
    <h6>제목6</h6>

    <!-- 문단 -->
    <p>
        <!-- 줄바꿈 : br태그 -->
        학교종이떙땡떙 선생님이 우리를 기다리신다...<br>
        학교종이떙땡떙 선생님이 우리를 기다리신다...<br>
        학교종이떙땡떙 선생님이 우리를 기다리신다...<br>
    </p>

    <p>
        <!-- lorem : 자동 텍스트 완성 (글자 단어 수 지정 예시: lorem100) -->
        Lorem ipsum dolor sit amet consectetur adipisicing elit. In consequatur perspiciatis eligendi, earum, molestias asperiores nulla excepturi dolor laborum, explicabo eaque inventore error! Itaque sint perferendis reprehenderit aperiam libero tenetur.
    </p>

    <!-- 순서가 없는 목록 -->
    <ul>
        <li>사과</li>
        <li>바나나</li>
        <li>망고</li>
    </ul>

    <!-- 순서가 있는 목록 -->
    <ol>
        <li>탐 행크스</li>
        <li>브래드 피트</li>
        <li>메릴 스트립</li>
    </ol>

    <!-- 제목이 있는 목록 : 정의-->
    <dl>
        <dt>파리</dt>
        <dd>
            패션과 미식, 예술과 낭만이 있는 세계 문화의 중심지
        </dd>

        <dt>런던</dt>
        <dd>
            영국의 수도이자 세계 최대 도시로 손꼽히는 곳. 영국의 정치, 경제, 문화, 교통의 중심지다.
        </dd>
    </dl>
</body>
</html>
- 서식태그 : 강조, 링크
<!DOCTYPE html>
<html lang="en">
<head>
    <meta charset="UTF-8">
    <meta http-equiv="X-UA-Compatible" content="IE=edge">
    <meta name="viewport" content="width=device-width, initial-scale=1.0">
    <title>서식관련 태그 - 강조, 링크</title>
</head>
<body>
    <!-- 강조 -->
   <p>
        <strong>학교종</strong>이 <em>땡땡땡</em> 어서모이자.
   </p>

   <!-- 링크 -->
   <p>
        <a href="https://www.naver.com/" target="_blank" title="새창으로 네이버 이동">네이버로 이동</a>
   </p>
</body>
</html>
- 이미지, 동영상, 오디오 태그
실습 예제를 위한 템플릿 폴더
템플릿 예제폴더 수업때 진행하는 모든 음악, 영상, 이미지소스는 저작권 무료파일이긴 하지만 시스템적으...
blog.naver.com
<!DOCTYPE html>
<html lang="en">
<head>
    <meta charset="UTF-8">
    <meta http-equiv="X-UA-Compatible" content="IE=edge">
    <meta name="viewport" content="width=device-width, initial-scale=1.0">
    <title>이미지, 동영상, 오디오 태그</title>
</head>
<body>
    <!-- 이미지 -->
    <img src="img/rose.jpg" alt="">

    <!-- 동영상 -->
    <video src="img/cloud.mp4" alt="" controls muted loop poster="img/rose.jpg"></video>
    <!-- controls : 제어버튼 -->
    <!-- muted : 자동 음소거 -->
    <!-- autoplay : 자동재생 -->
    <!-- loop : 무한반복 -->
    <!-- poster : 영상 썸네일 -->

    <!-- 오디오 -->
    <audio src="img/calm.mp3" controls autoplay muted></audio>
    <!-- poster값은 입력할수없음 -->
</body>
</html>
- 테이블 태그 (셀 합치기, 제목 본문 분리)
- 셀 합치기
<!DOCTYPE html>
<html lang="en">
<head>
    <meta charset="UTF-8">
    <meta http-equiv="X-UA-Compatible" content="IE=edge">
    <meta name="viewport" content="width=device-width, initial-scale=1.0">
    <title>테이블 태그</title>
</head>
<body>
   <table border="1" width="500">
        <tr>
            <!-- colspan : 열 합치기, rowspan : 행 합치기 -->
            <td colspan="2">1, 2</td>
            <td>3</td>
            <td rowspan="3">4, 8, 12</td>
        </tr>
        <tr>
            <td>5</td>
            <td colspan="2" rowspan="2">6, 7, 10, 11</td>
        </tr>
        <tr>
            <td>9</td>
        </tr>
   </table>
</body>
</html>
- 제목 본문 분리 (thead, tbody)
<!DOCTYPE html>
<html lang="en">

<head>
    <meta charset="UTF-8">
    <meta http-equiv="X-UA-Compatible" content="IE=edge">
    <meta name="viewport" content="width=device-width, initial-scale=1.0">
    <title>테이블 태그</title>
</head>

<body>
    <table border="1" width="600">
        <!-- caption : 제목 -->
        <caption>자유게시판</caption>
        <thead>
            <tr>
                <th>글번호</th>
                <th>글제목</th>
                <th>글쓴이</th>
                <th>날짜</th>
            </tr>
        </thead>
        <tbody>
            <tr>
                <td>1</td>
                <td>첫 번째 게시글</td>
                <td>홍길동</td>
                <td>2022-07-16</td>
            </tr>
            <tr>
                <td>2</td>
                <td>두 번째 게시글</td>
                <td>김철수</td>
                <td>2022-07-16</td>
            </tr>
            <tr>
                <td>3</td>
                <td>세 번째 게시글</td>
                <td>콩순이</td>
                <td>2022-07-16</td>
            </tr>
            <tr>
                <td>4</td>
                <td>네 번째 게시글</td>
                <td>밍깅이</td>
                <td>2022-07-16</td>
            </tr>
        </tbody>
    </table>
</body>

</html>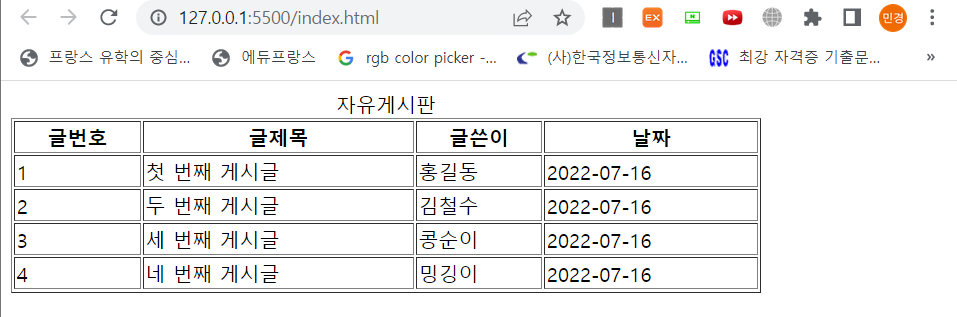
- 폼 태그
HTML5 폼태그 - form, input, select, option,textarea, label
form태그는 사용자로 부터 특정 정보값을 입력 받아 서버로 전송해주는 기능을 한다. 실제 입력받은 값을 ...
blog.naver.com
<!DOCTYPE html>
<html lang="en">
<head>
    <meta charset="UTF-8">
    <meta http-equiv="X-UA-Compatible" content="IE=edge">
    <meta name="viewport" content="width=device-width, initial-scale=1.0">
    <title>폼 태그</title>
</head>
<body>
    <form action="/" method="get">
        <!-- action="/" : 현재페이지로 값을 전송해주겠다 -->
        <!-- method="get" : 주소줄에 값을 문자열 형태로 전송하겠다 -->

        <!-- 텍스트 입력 -->
        <input type="text" name="userid"><br>
        <!-- 비밀번호 입력 -->
        <input type="password" name="pwd"><br>
        <!-- name값에 입력한값이 담겨서 전송 -->

        <!-- 전송 취소, 전송 버튼 -->
        <input type="reset">
        <input type="submit">

        <br>

        <!-- 복수개 요소 선택 가능한 폼 요소 -->
        <label for="soccer">축구</label>
        <input type="checkbox" name="hobby" id="soccer">

        <label for="music">음악</label>
        <input type="checkbox" name="hobby" id="music">

        <label for="game">게임</label>
        <input type="checkbox" name="hobby" id="game">

        <br>

        <!-- 단일 요소 선택 가능한 폼 요소 -->
        <label for="female">여성</label>
        <input type="radio" name="gender" id="female">

        <label for="male">남성</label>
        <input type="radio" name="gender" id="male">

        <br>

        <!-- 단일 요소 선택 가능한 폼 요소 -->
        <label for="edu">최종학력</label>
        <select name="education" id="edu">
            <option value="elementary school">초등학교</option>
            <option value="middle school">중학교</option>
            <option value="high school">고등학교</option>
        </select>

        <br>

        <!-- HTML5에 새롭게 추가된 폼 요소 -->
        <!-- 색상지정 -->
        <input type="color"><br>
        <!-- 날짜지정 -->
        <input type="date"><br>
        <!-- 시간 지정 -->
        <input type="datetime"><br>
        <!-- 메일주소 -->
        <input type="email"><br>
        <!-- 범위 지정 -->
        <input tupe="range"><br>
        <!-- 여러개 글 입력 (텍스트창) -->
        <textarea name="comments" id="comment" cols="30" rows="10"></textarea>
    </form>
</body>
</html>
- 그룹화 태그
<!DOCTYPE html>
<html lang="en">

<head>
    <meta charset="UTF-8">
    <meta http-equiv="X-UA-Compatible" content="IE=edge">
    <meta name="viewport" content="width=device-width, initial-scale=1.0">
    <title>그룹화 태그</title>
</head>

<body>
    <div>
        <h1>Paris</h1>
        <p>Lorem ipsum dolor sit, amet consectetur adipisicing elit. Nisi maxime laudantium doloremque pariatur
            accusamus iusto ad labore exercitationem illo nesciunt sit ex excepturi, minus debitis tenetur veritatis.
            Omnis, dolore molestiae.</p>
        <a href="#">View Detail</a>
        <!-- ctrl + i : div 태그로 묶어주기 (단축키)-->
    </div>
</body>

</html>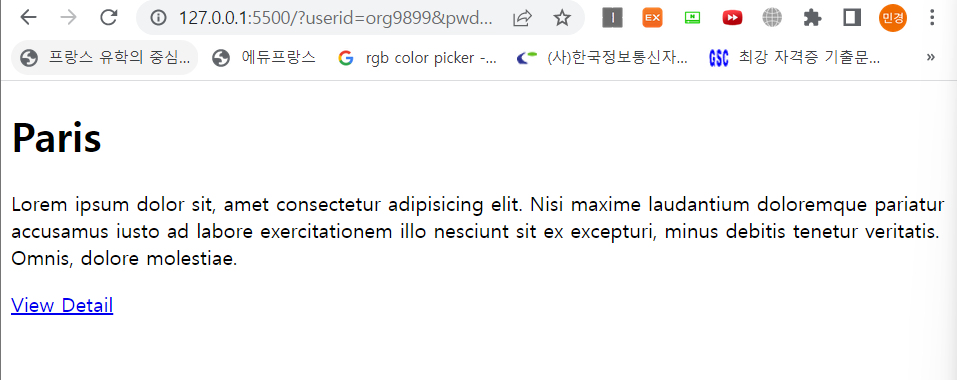
'Web' 카테고리의 다른 글
[WEB] Flex 레이아웃 (0) 2022.07.28 [WEB] CSS3를 활용한 웹 문서 스타일링 (0) 2022.07.19 [WEB] 인터렉티브 UI 기획 & 디자인 (0) 2022.07.09 [WEB] Flask 실행하기 (AWS 서버 이용) (0) 2022.03.11 [WEB] Flask시작하기 (Get, Post 정리) (0) 2022.03.07